Anatomy of a build
you can see and hear the finished product here
The Neck. I always start with the neck. In this case the first step was using a router sled and a plane to grade down and level a piece of mahogany for the fingerboard. This is then slotted for the eventual frets. A very careful job.


The neck blank is then cut, planed and squared. In this case the wood is pitch pine from part of and old bench the the fretboard is resting on. The single most difficult cut in the whole guitar making process is the 13degree angle for the scarf joint. Should the saw wander by more that a mm or so over length of cut you have firewood. This time it came out well and I was able to get it almost perfect with some careful work with a sharp block plane.


A cheek cut is made to the back of the headstock, and the two parts are glued back together, followed by a bit more planing to level the neck out further. Then neck is channeled for the truss rod and the fretboard glued on. After this then the rough taper of the neck and shape of the headstock can be cut.


Then it is shaped with a spokeshave, rasps and sandpaper, and the headstock drilled 


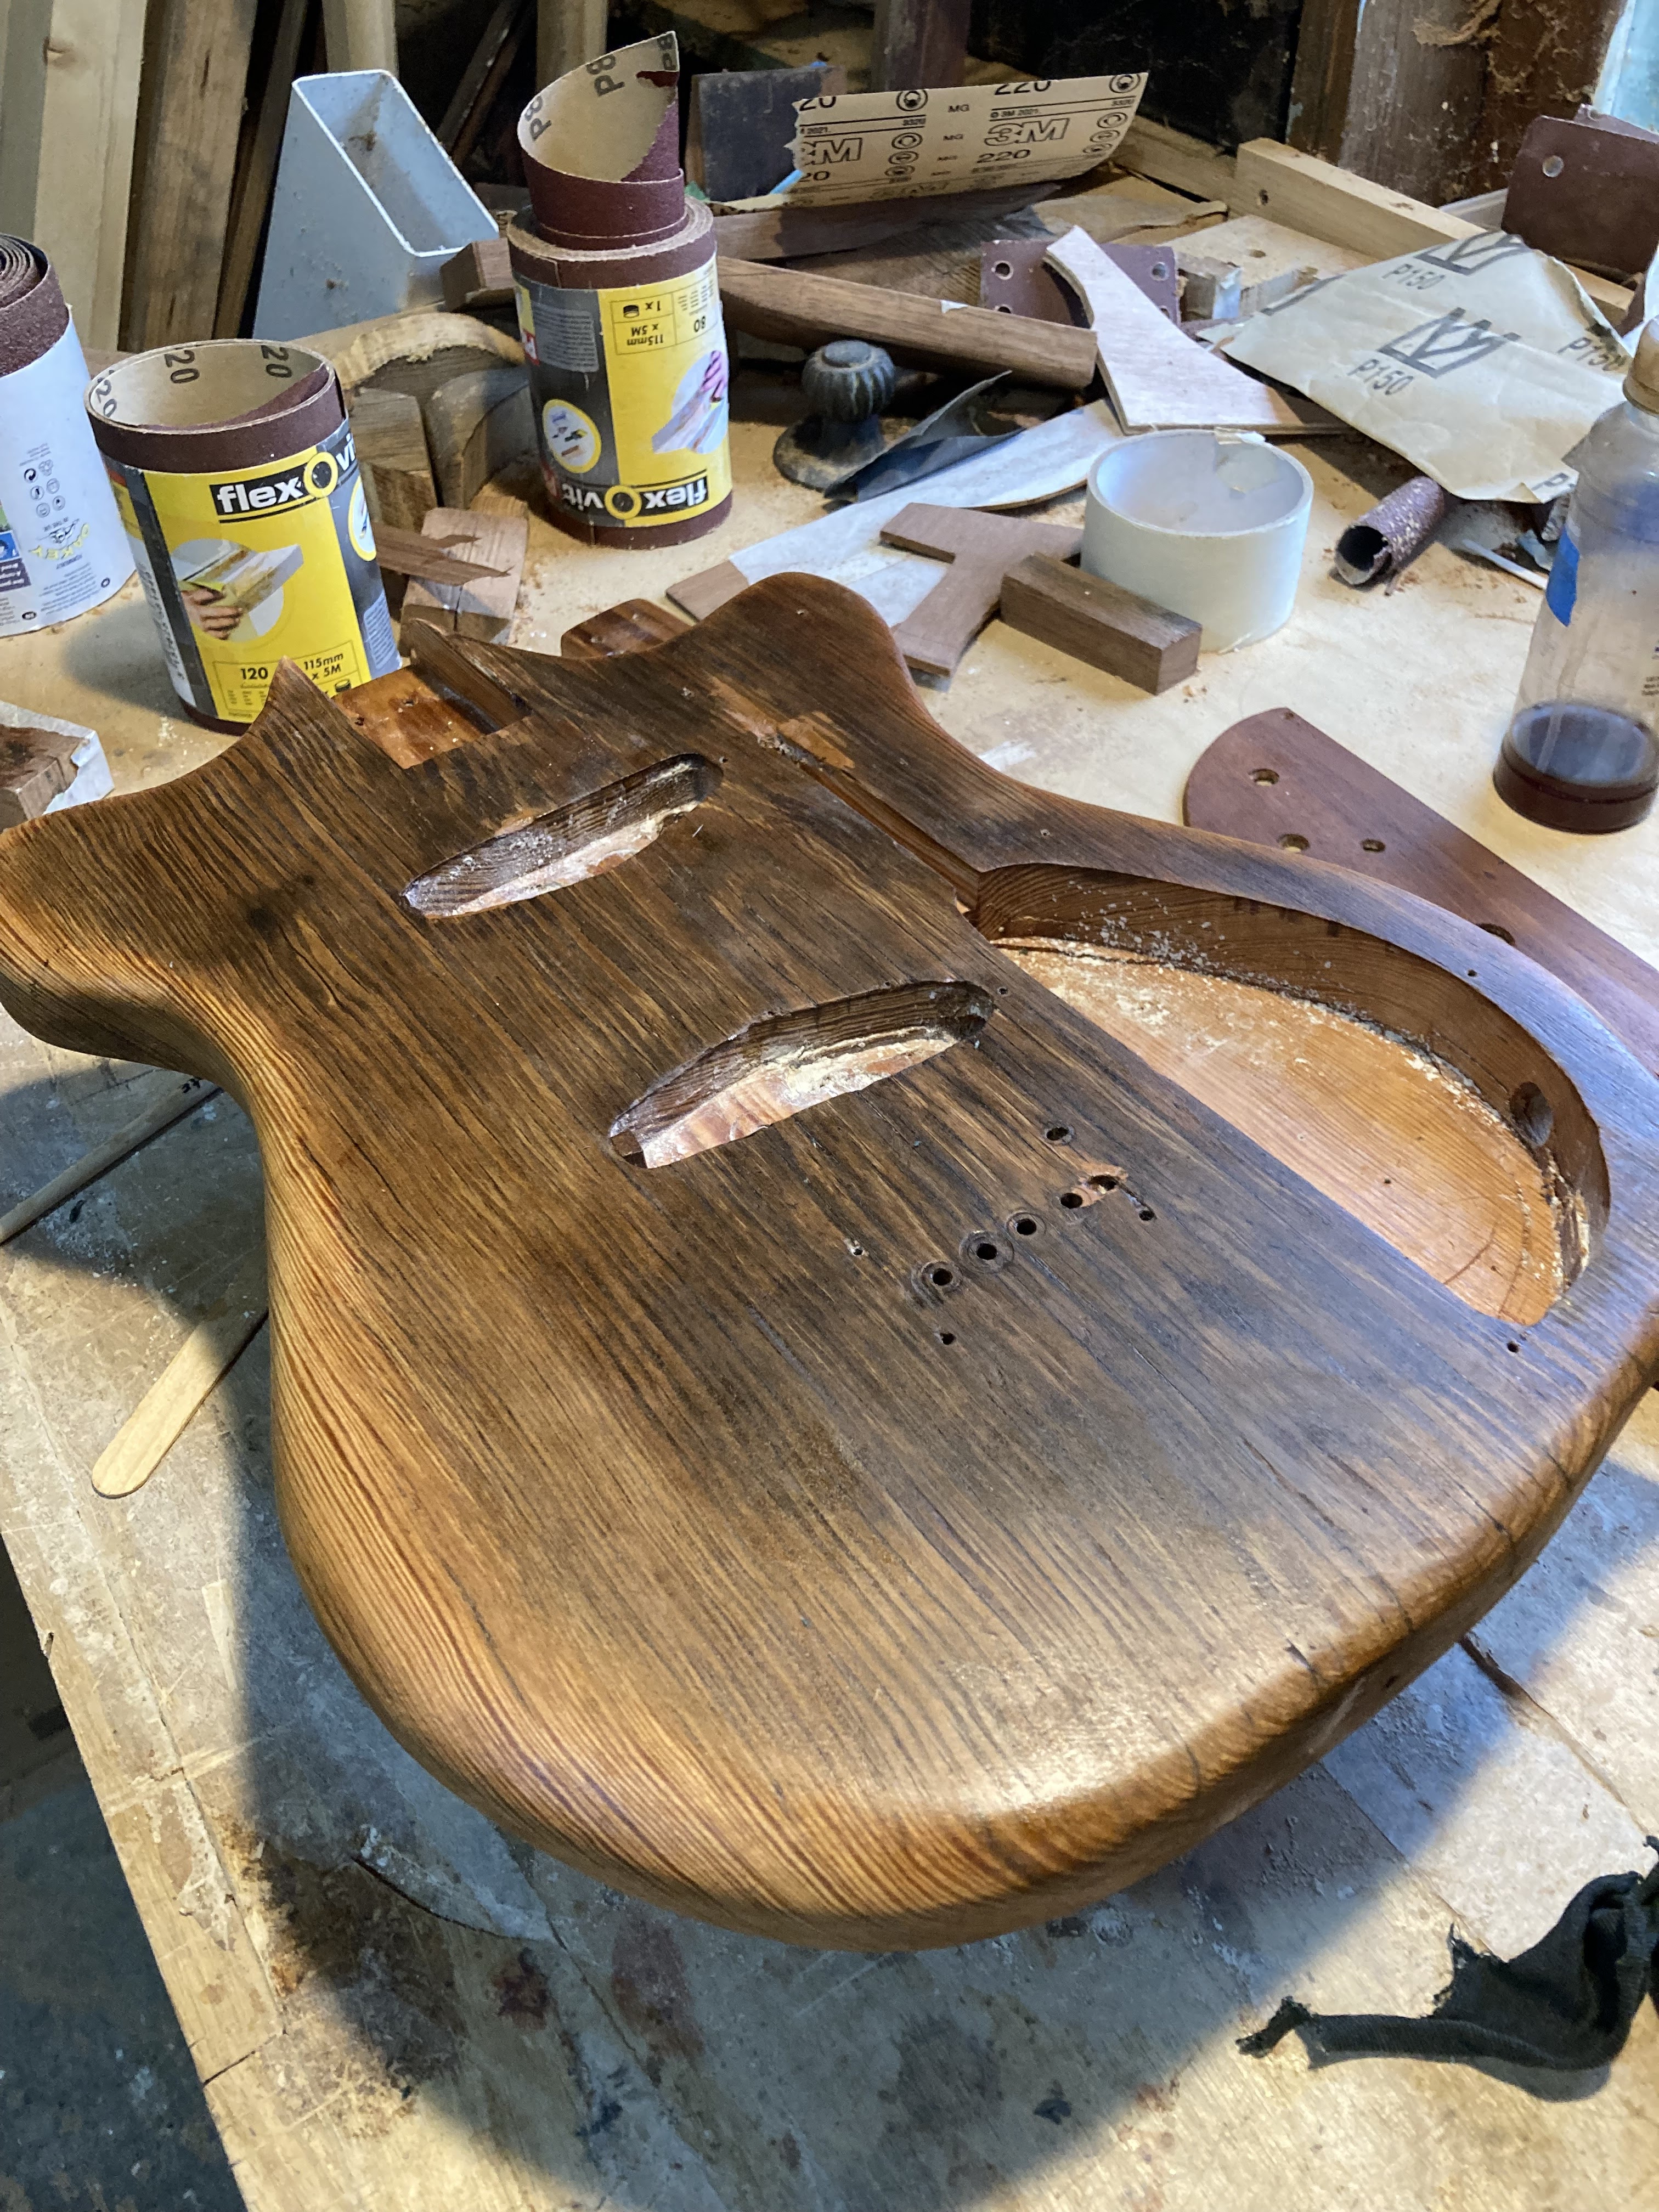
The Body: old screw holes are filled in the piece with the same timber, and both sides give a gentle bit of planing. A template is made from plywood, which helps the overall process, is particularly useful for routing out the control cavity - this build will have pickguard mounted controls.


The rough cut body is trimmed with a router and shaped with a rasp and sandpaper. The pickup cavities are then routed, and the bridge placement worked out.


The neck is fitted and final position of bridge and pickups determined. The pickguard is then made and a simple wire up done. This allows me to work out any major flaws or issues in the build before moving to the beginning the finishing process


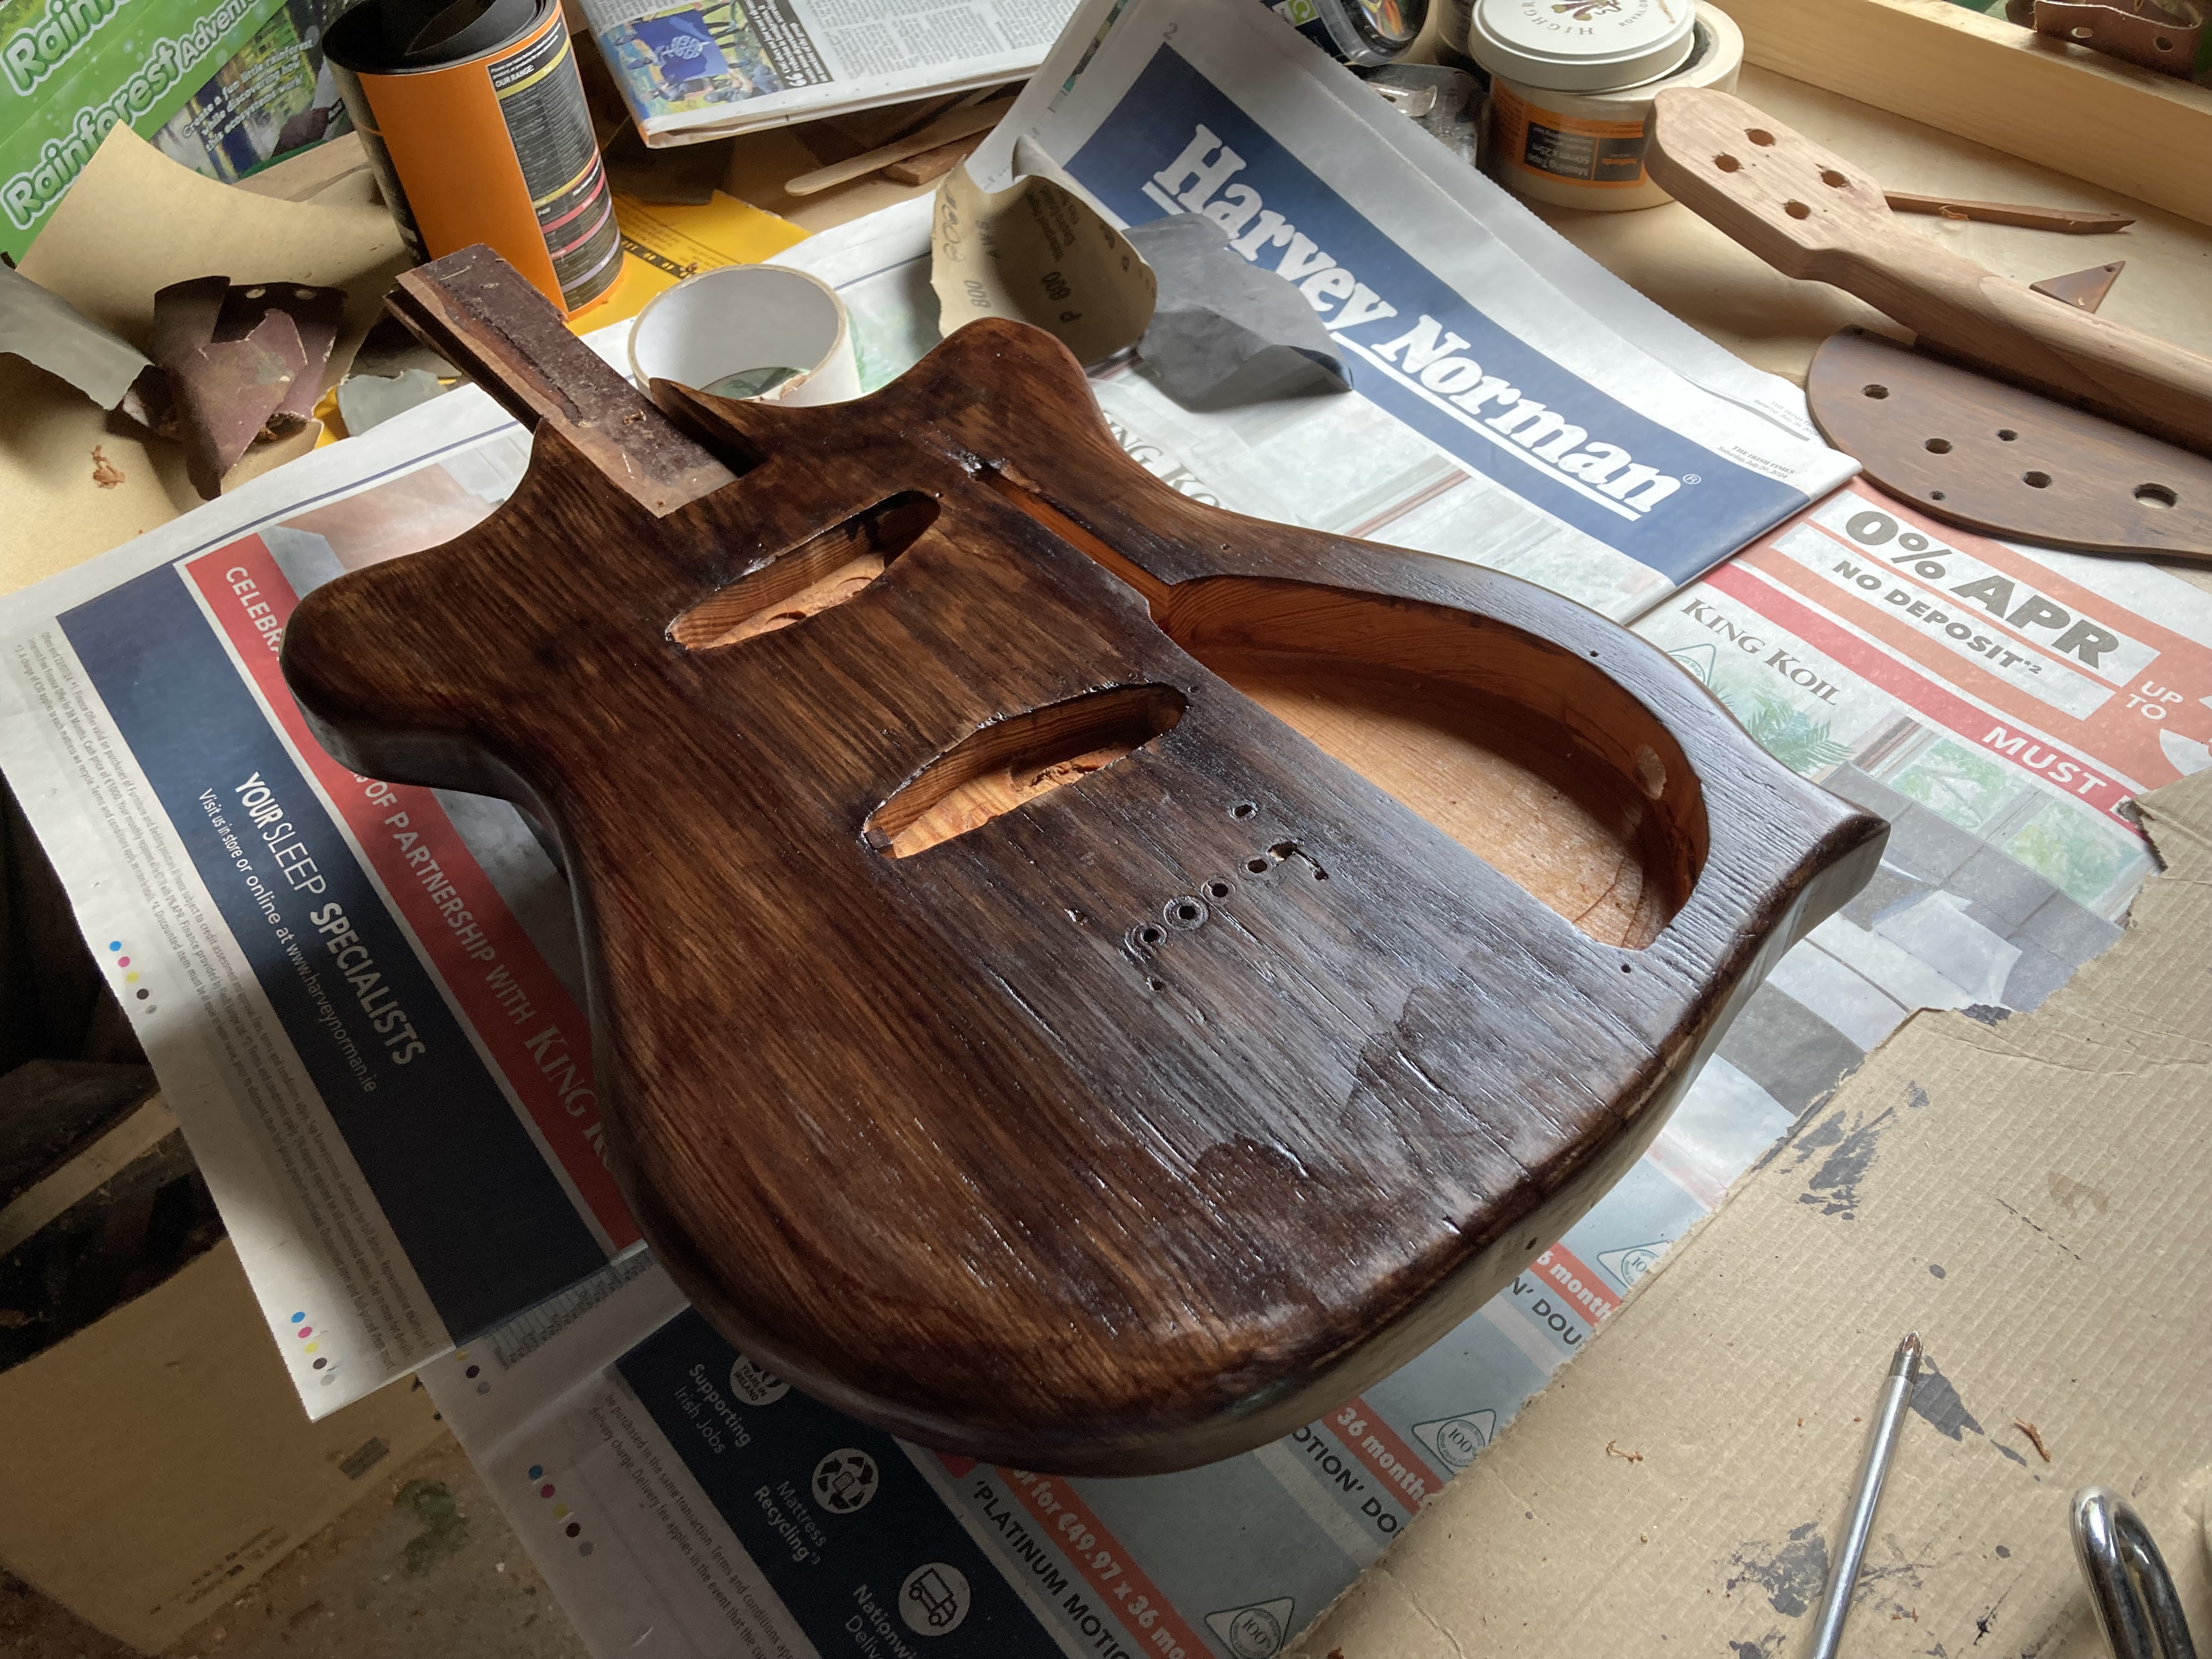
Finishing: The first step of the finishing is any remaining filling followed by a sand to 220grit. Then the wood is sealed with a weak cut of shellac, which is subsequently rubbed with pumice, before rubbing in with another coat. This process both makes subsequent finishing easier and fills a lot of fine pores and cracks in the wood. Strictly speaking this shouldn’t be necessary with a wood like pine, but it’s an old piece with some surface cracks.

The client was happy with having some of the aging and grain of the wood show through on the body, so I just used additional grain filler on the mahogany pickguard, neckplate and truss rod cover, and the end grain on the heel of the neck. This is rubbed/scrapped on with a credit card to fill any remaining pores of cracks, left to dry and then sanded off. Then all pieces are rubbed down with white spirits.


My method for finishing is based on some of the traditional French polishing techniques. Firstly a cloth is used to apply a couple of generous coats of shellac (in this case button shellac tinted with black spirit stain to a walnut colour), which are level sanded with 400grit paper. A 'rubber' which is a wad of cotton balls in a cloth is used to apply multiple very thin coats of shellac - about 3-4 per session. The shellac dries very quickly.

There are multiple sessions of putting a few very thin coats on over a couple of days, with increasingly fine grit sanding (up to 1200) between coats. As you move along the mix is diluted with more and more pure spirit, which means by the end you are putting on shellac that is very dilute. As each coat of shellac disolves into the previous this 'spiriting out' leads to eventually to a very smooth, high sheen surface.


After the finish has hardened, is given a final ‘cut’ and polish (in this case taking down the shine a bit with wire wool. The cavities in the body are shielded with copper tape


Then it’s reassembled carefully, wired up, and restrung… and ready to go!


Comments
Post a Comment